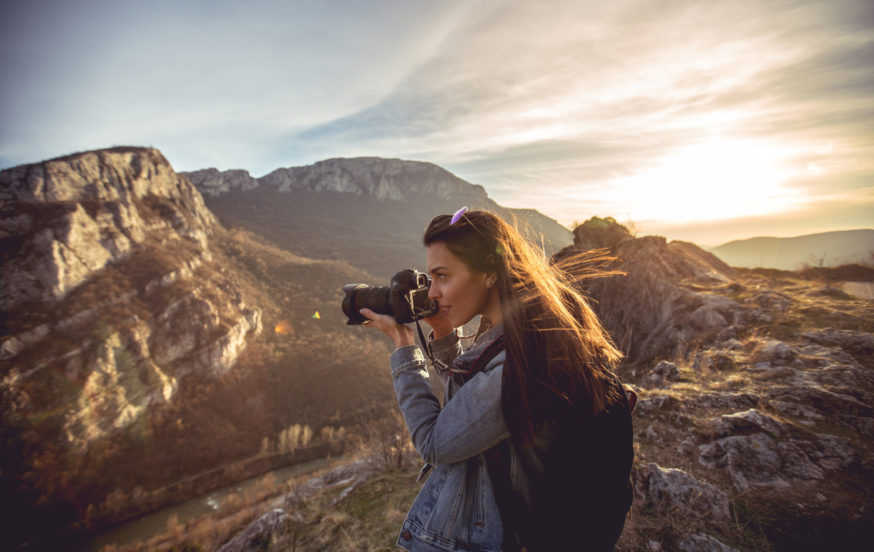
A picture is worth a thousand words…
So when you’re taking photos on tour, it’s important to create a narrative that truly documents your experience.
Here are our top tips for adventure photography on tour!
- Use flash outdoors
It seems like a flash would be the last thing you need on a bright day, but the sun can cast harsh shadows and your flash helps fill these in. So on a sunny day, don’t forget to turn on your flash function.
- Move in close
A common mistake is being too far away from your subject. Get close! Your goal is to fill the picture area with the subject you’re photographing. Up close, you can reveal more about your subject. But if you can, don’t rely on the zoom – you’ll get a much sharper photo if you move closer to your subject rather than zooming in.
- Find a simple background to use
A simple background better shows off the subject you’re photographing. Find an area that isn’t too complicated so that your subject doesn’t have to share the spotlight with anyone – or anything – else!
- Move it from the middle
The middle of your picture is not always the best place for your subject. Bring your picture to life by simply moving your subject away from the middle of the picture. This can best be achieved using the tick-tack-toe style grid in your viewfinder which allows you to place your subject at one of the intersections of the lines.
- Be ready!
It’s the worst feeling in the world to have something happening when you’re not ready, your camera is in your bag, turned off, or set to the wrong settings! Have a practice drill for getting your camera out quickly and getting it to shoot. Settings need to change when the lighting does, so take a few practice shots with your settings adjusted before the action happens.


